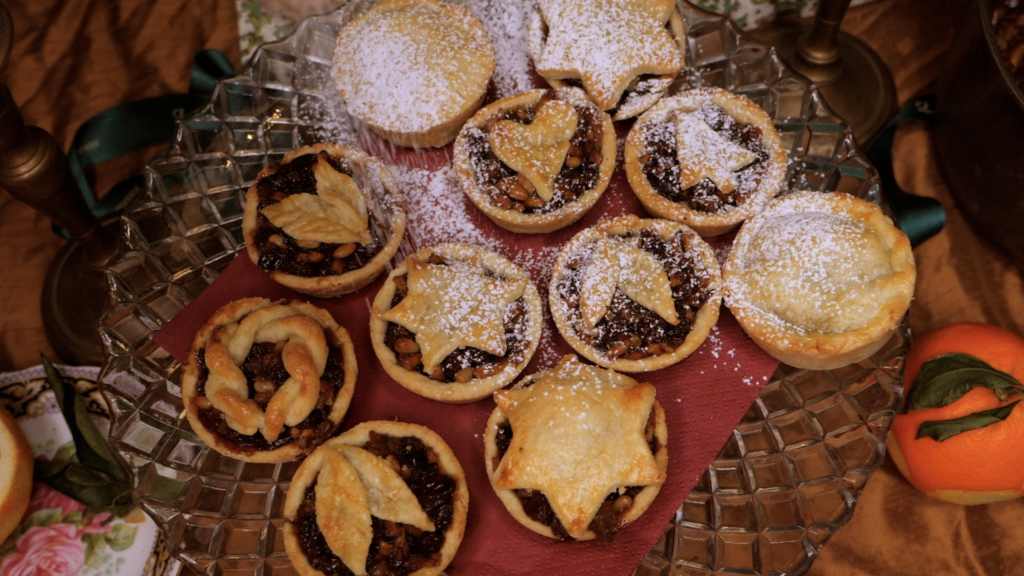
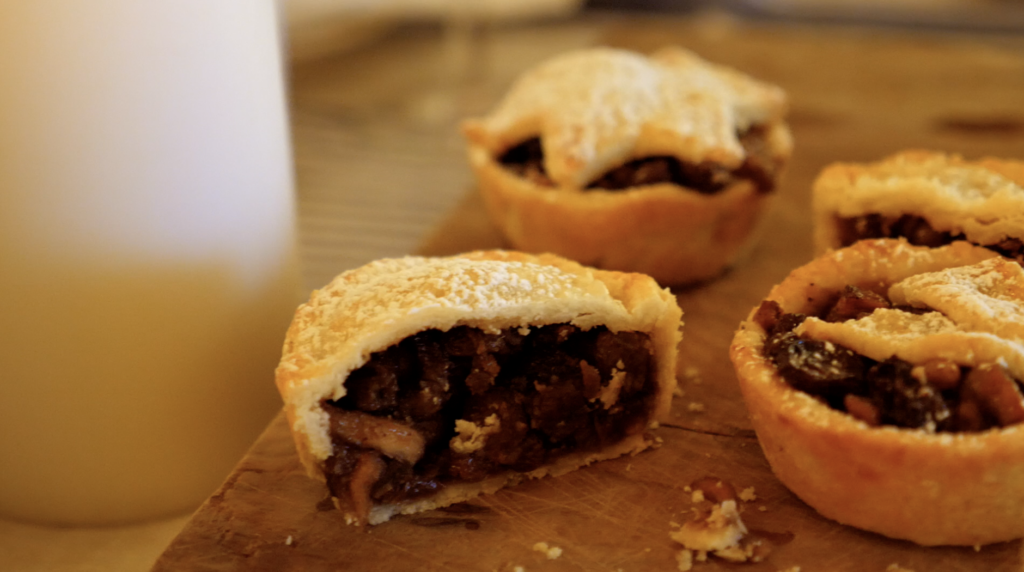
I have been making these pies myself since I was about eight years old. Although they’re an English tradition, you will find the flavours of spice, ginger and dried fruit will spark nostalgia even if you didn’t grow up eating these at Christmas time. The filling is really best made a day in advance. If you must make and eat them today then at least try to avoid eating them all in one sitting. Just wait and see how the flavours develop and the pies taste better and better three or four days after they’ve come out of the oven.
This recipe of mine makes about 18 pies if you use all the dough, although it could make 12 if you prefer not to roll your pastry out too thin and do full tops rather than shapes. I use muffin pans so my pies tend to be a little deeper than some that are baked in the shallow round mince pie tins.
INGREDIENTS
THE FILLING:
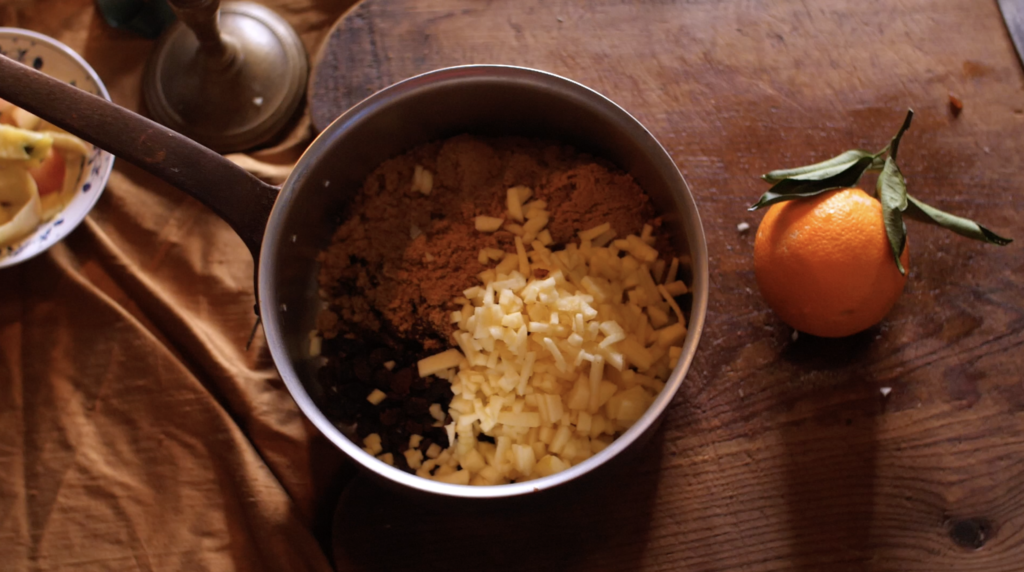
2.5 cups sultanas/currants/raisins (*if using only sultanas, I would chop half to create diversity of texture)
2 apples (peeled and diced into small cubes)
1 cup (200g) brown sugar
1/3 cup nuts (pine nuts or chopped almonds)
1/4 cup (approx) grated fresh ginger
2 teaspoons ground cinnamon
2 teaspoons ground nutmeg
2 teaspoons ground cloves
1 orange (zest and half the juice)
1/4 cup chopped candied orange
100g butter
Vin Santo / brandy / alcohol of choice (optional)
THE PASTRY:
2.5 cups flour
2 teaspoons nutmeg (optional)
180g cold butter
1 teaspoon orange zest
1/4 cup white sugar
2 egg yolks
1 egg (optional)
5 teaspoons iced water
METHOD
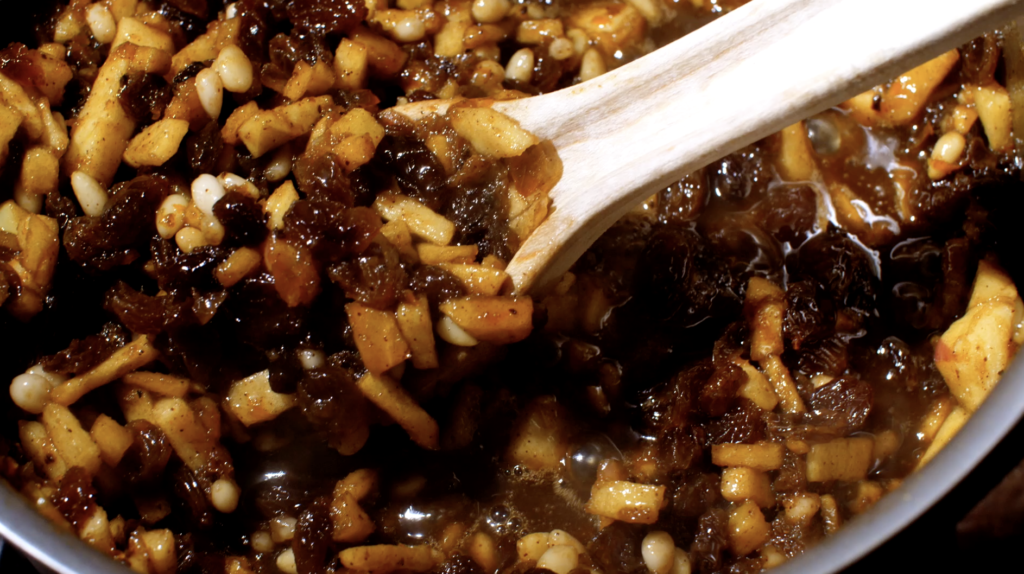
- In a medium saucepan, put sultanas, cinnamon, nutmeg, cloves, grated fresh ginger, diced apple, sugar, butter, zest from the whole orange, juice from half the orange, chopped candied orange and nuts. Heat on a low flame, stirring occasionally until the sultanas become plump and you see a sticky caramel sauce. You don’t want too much liquid so just cook it until any sauce is quite thick.
- If you are adding alcohol, I would add it after taking it off the heat for maximum flavour. If you want something more subtle, add it halfway through the butter melting.
- Now for the PASTRY! In a large bowl, mix flour, nutmeg, orange zest and sugar.
- Chop the cold butter into cubes and work into the flour with your fingertips until roughly combined.
- Mix in the egg yolks. Gradually add chilled water, a few teaspoons at a time, working the dough with your hands to bring it together into a ball. You can add a little more water if necessary but remember that pastry often appears too dry and then with a bit of pressing it all comes together as the butter melts a little with your body heat, so resist just splashing in a lot of water.
- Cover the dough and leave in the fridge for about 45 minutes.
- Preheat your oven to 180 – 190 C (350–375 F) and prepare baking paper circles for your muffin pan. You may wonder why I don’t just use muffin cases. I find that when there is paper on the sides, I don’t get a good crisp corner with pastry. I really want to press firmly into the edges so the pies are not unevenly thick in places. This pastry has so much butter in it that there’s no need to grease the sides but a little paper on the base just makes me feel confident I can get them out without any breakage.
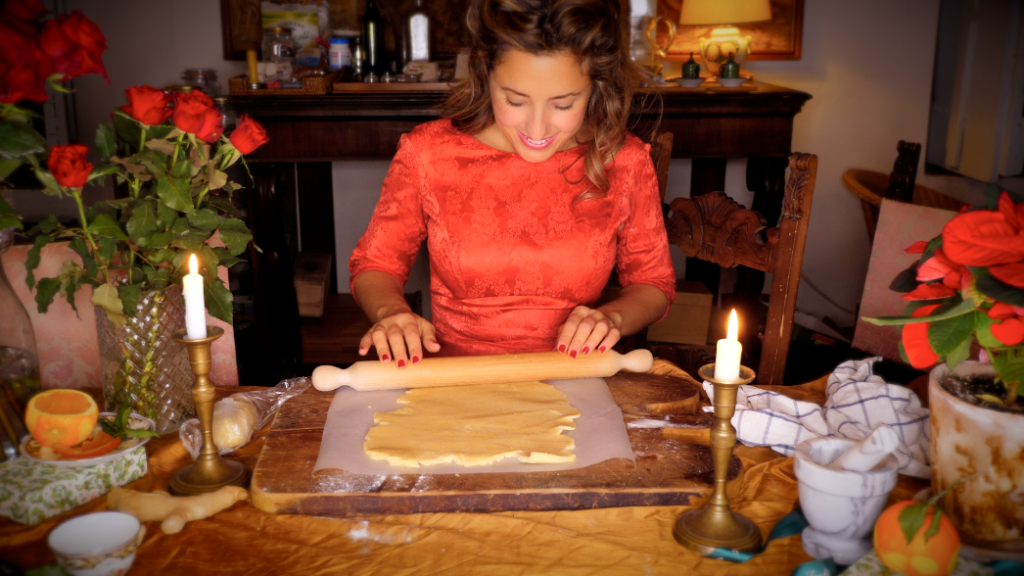
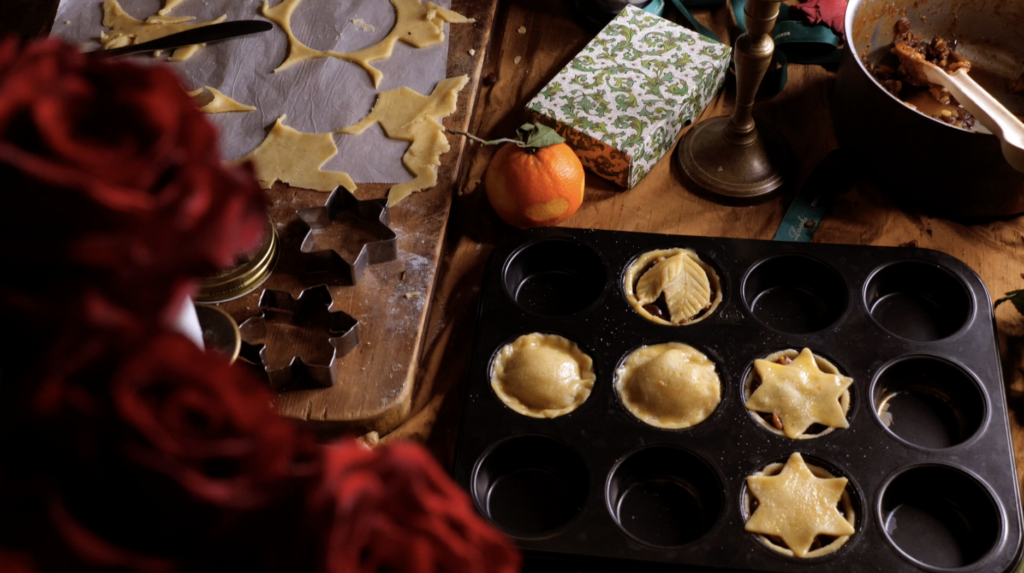
- Take your dough from the fridge, divide into one third for the tops and two thirds for the bottoms and roll out the bigger piece between two sheets of baking paper, while keeping the rest of the dough covered.
- Choose a cup that is bigger than the muffin pan so you’ll have room to go up the sides. Sometimes if I want a very delicate pie crust, I make the bottom circles a little smaller so they don’t quite reach the top of the sides and then once in the muffin pan, I gently press the sides up with my fingertips. Either way, be sure to run your thumb into the corners so you are certain there are no air bubbles and that the edges will be sharp.
- Now spoon in your cooled filling. Try not to overfill if you want a clean ring of pastry on top. Also, be sure to wipe away any drips of filling that fall onto the pan in between each muffin hole because these will burn in such small quantities.
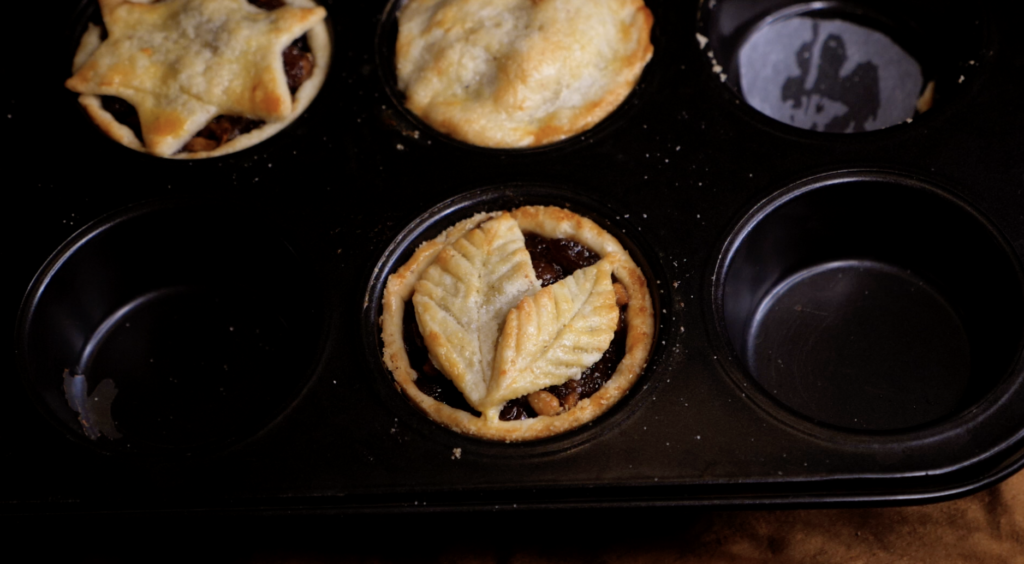
- Roll out the other ball of dough and cut shapes to place on top. Just whisk an egg and brush the shapes with a little egg wash and sprinkle a tiny bit of sugar on top for a golden finish.
- Put in the oven for about 8-10 minutes or until the tops go lightly golden. I keep these out of the fridge in an airtight container for about a week. Merry Christmas!!
